Lesson 3 of 5
Filming a simple three-shot sequence
A three-shot sequence tells a clear story: where you start, what you do, and the finished result. It helps viewers understand your process and see the care in your work.
Keep your shots short, simple and steady. Use natural light when you can, and keep your phone at eye level.
01
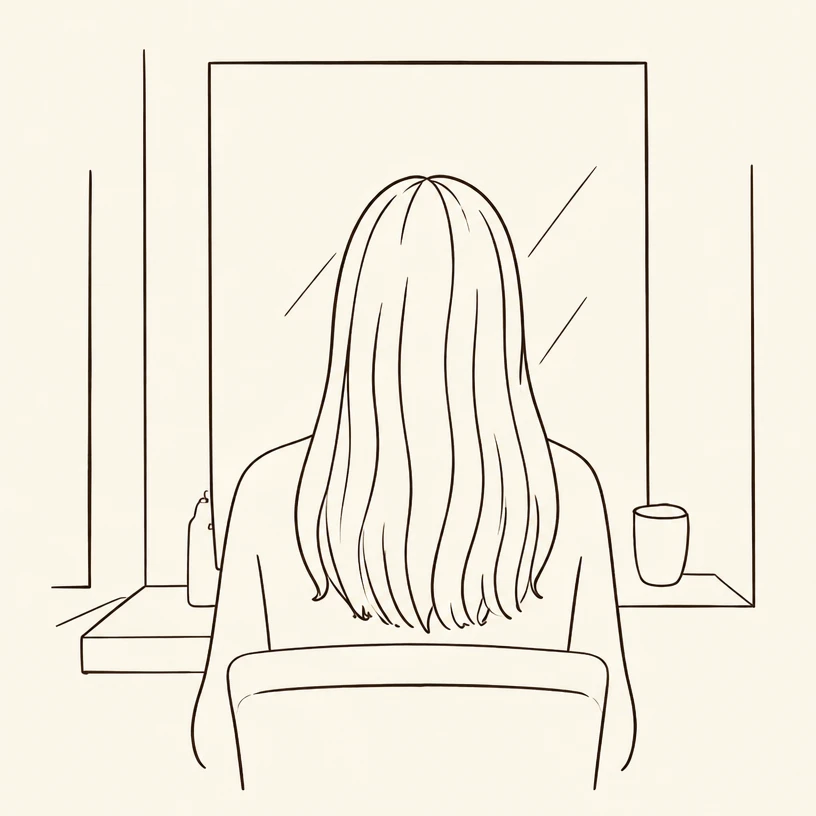
Setup / before
Sectioning at the chair, client facing the mirror.
02
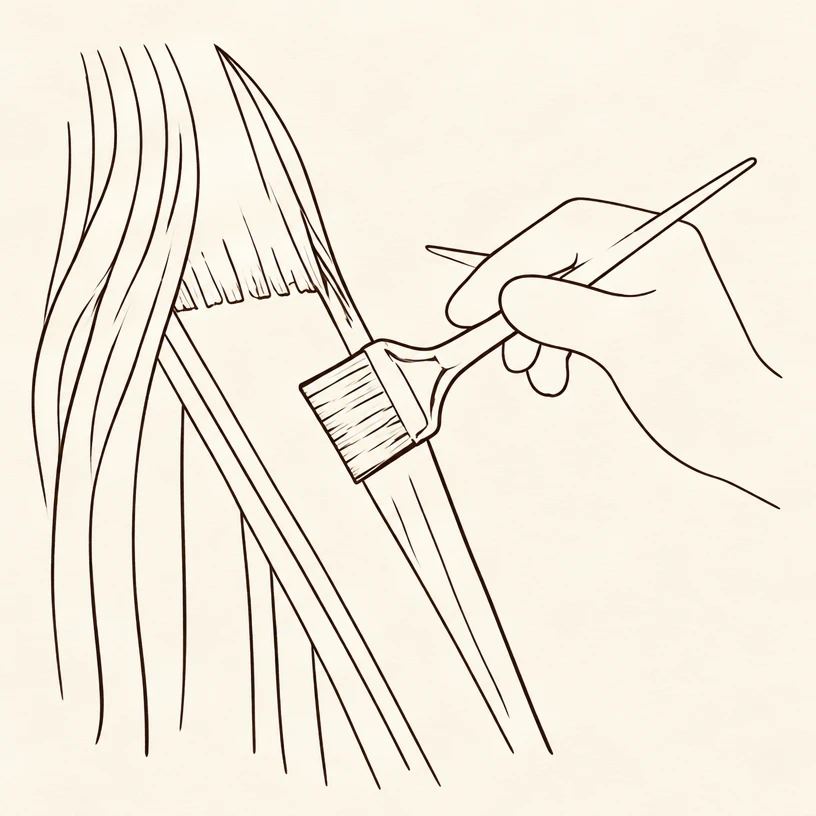
Process detail
Application or technique close-up.
03
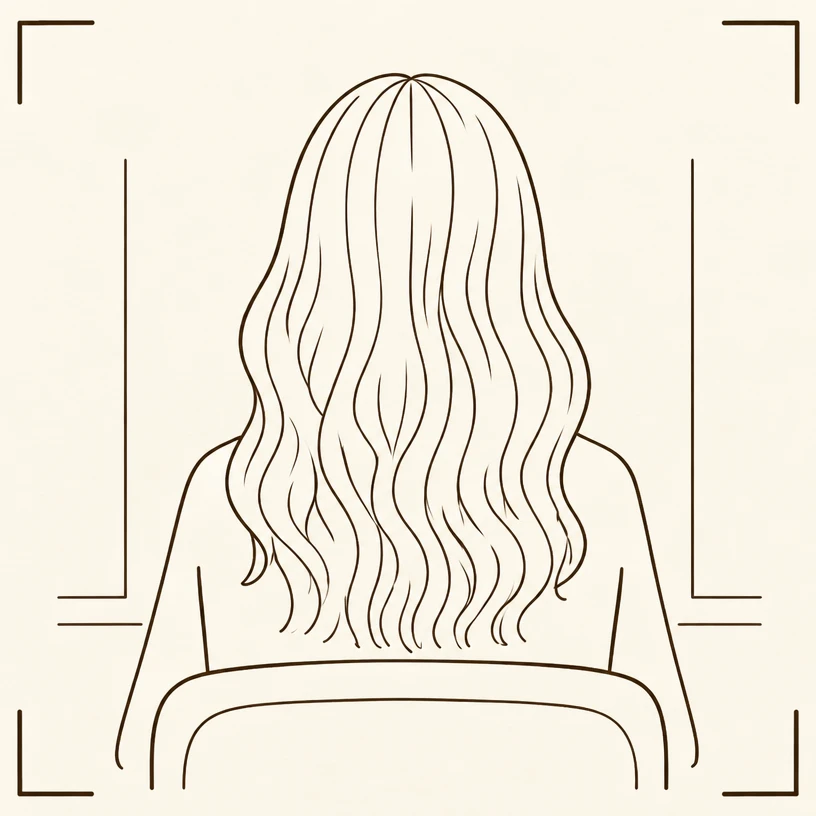
Finished service
Show the final look, from behind or side.
Keep each shot to a few seconds
Three to five seconds per shot is enough. Brace your elbows against your body or rest the phone on a shelf to keep it steady. Short, still clips are easier to edit and easier to watch.
Film the detail you named
Your process shot should show the detail from Lesson 1 up close. If your detail is a soft root, film the brush at the root; if it is a clean line, film the scissors along it.
Match your before and after
Film the setup and the finished shot from the same angle and the same light. Matching angles let viewers see the change without needing to read anything.
Exercise: write your shot list before the appointment
For your next booked service, write what each of your three shots will show in one short line. Add them to the worksheet so your outline is ready on the day.
Practice example: 1) sectioned hair, client facing the mirror; 2) brush blending at the root; 3) finished waves from behind at the window.
Add your three shots in the worksheet — they flow into your posting outline.